Wondering
"Where-'n-'Ell"
to get great parts for your outboard?
Right
Here!
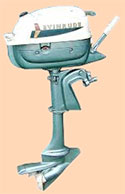
Evinrude 3 HP 1962
Meet the MasterTech! (click picture)
If your Mfgr. says:
That motor's 7 years old!! Part is no longer available. We lose $$ on service! EPA made me do it! Part's at central warehouse, you'll get it next month. We don't make parts for those. We only do warranty work. Our techs only fix late models. No clue what's wrong! So we'll work time & material.
NEW PARTS TO INSTALL
(1) POINTS/CONDENSERS IGNITION TUNE
KIT
(2) IGNITION COILS & WIRES
(2) NGK B6S SPARK PLUGS
(1) 439071 CARB KIT
(1) HEAD GASKET
(1) WATER PUMP IMPELLER
You can order these as a kit
for $199.00
by clicking on the cart icon below.
MASTERTECH DEMONSTRATES HOW TO TUNE UP AN OLDER SMALL
MOTOR.
DO you have an older small Evinrude or Johnson
outboard from 3 thru 25 HP that needs a little help? or perhaps
you would like to get a good small motor without spending
from $1300 up for a new model?
Then you have come to the right place. We
will go through the complete procedure to do a major tune
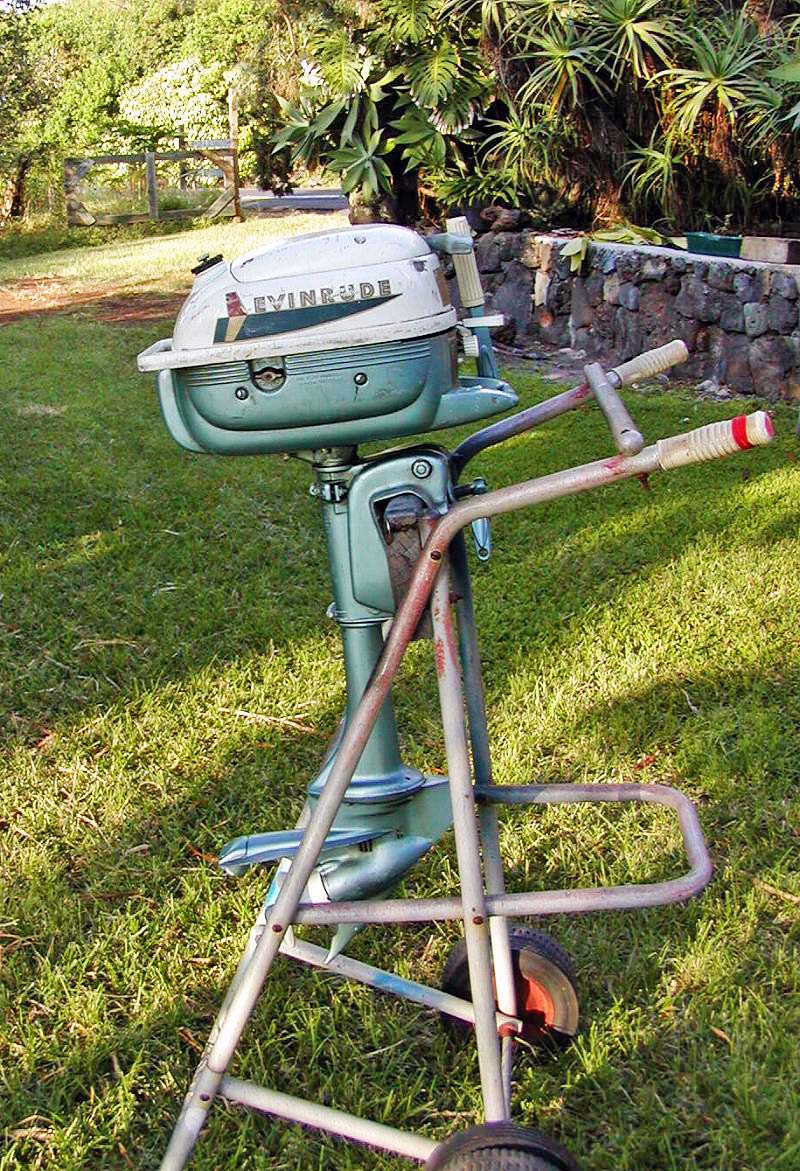
up on a small motor, in this case a 1962 Evinrude 3 HP I was
lucky enough to win in an E-bay auction. The seller said it
didn't run but I could see from the images provided that it
was in pretty good condition. Turned out to be almost unused!
This particular model was built essentially
unchanged from 1951 through 1967 and as a 4 HP up into the
90's. You couldn't ask for a better trolling motor. Where
do YOU get one? E-bay and other auction sites have motors
up for sale all the time. Yard sales, flea markets, even your
local dealer may be happy to sell you an older motor they
don't think is worth repairing. Use good judgment, don't buy
a motor that is worn out! Generally the nicer looking ones
are in good shape.
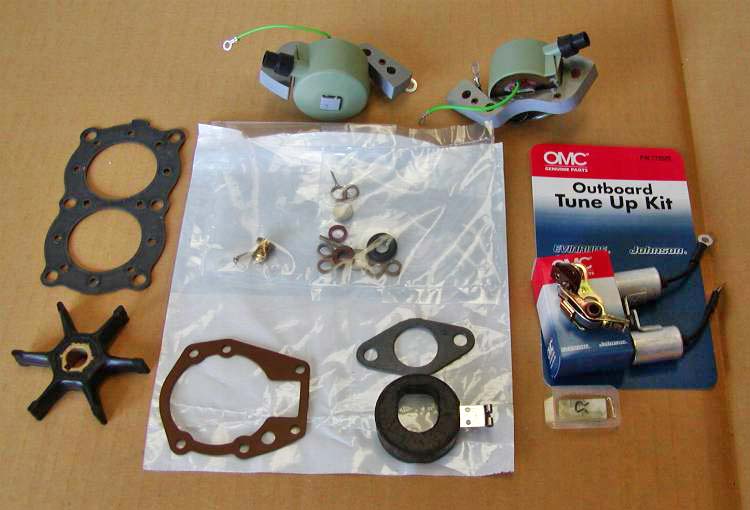
These are the components we will be using
to get this little jewel into perfect condition. All these
parts will cost you just a little over $172.00. The entire
project should only take you a Sunday afternoon, and will
reward you with a motor that runs better than new.
Most of the small pictures are active links
to full size photos to help you along. Just click to look,
they will open in a new browser window. Feel free to print
out any of this info FOR YOUR OWN USE ONLY!!
To begin you will need ordinary QUALITY
hand tools, a feeler gauge, flywheel puller, torque wrench,
some OMC Engine Tuner or Mercury Engine Cleaner, a gallon
or so of cleaning solvent or paint thinner, moly lube, silicone
dielectric grease, a CLEAN workbench. All the parts as well
as the entire motor should be rinsed clean with the solvent,
cleanliness is imperative. An otherwise good job will be ruined
by grunge. Be sure to work in a well-ventilated area and keep
your hands as free from cleaners as practicable.
The first area we will approach is the ignition
system. OMC used a "Universal" magneto on most all
small outboards from the early 50's right on up to just a
few years ago. Over time the components on the earlier models
will deteriorate requiring replacement. Fortunately these
components are very inexpensive.
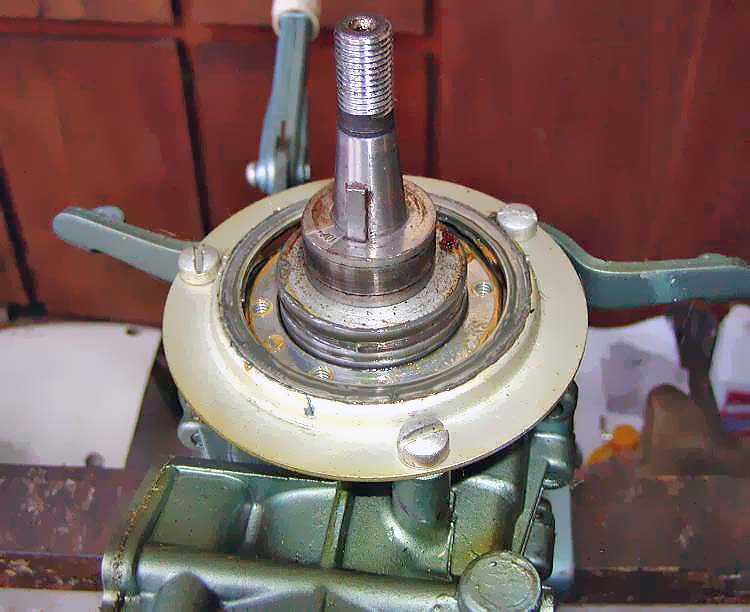
This image shows the proper type of flywheel puller you need to remove the flywheel. This can be rented form your local tool rental as a "steering wheel" puller. DO NOT try to use any kind of puller on the outer diameter of the flywheel as it will bend and destroy it.
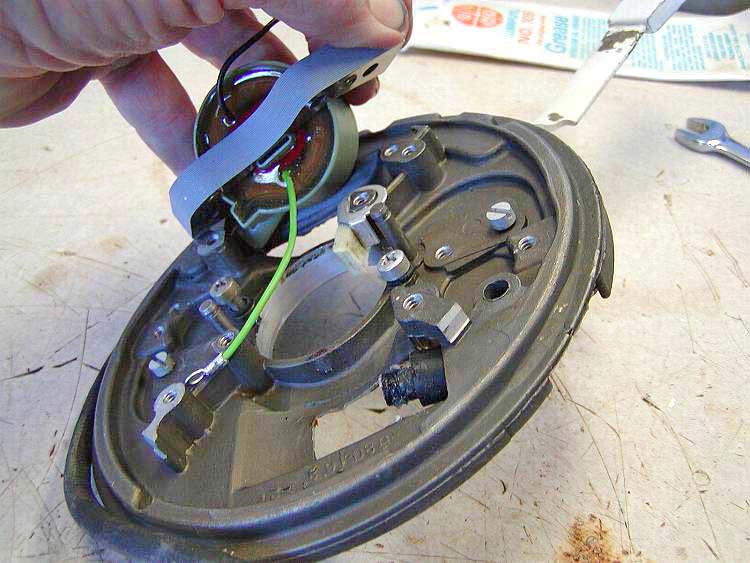
Pictured is the stator plate removed from
the powerhead, on the bench. Simply unhook any advance
linkages, unscrew 4 Phillips head screws closest to the
center of the plate and lift it off. As you can see in
this picture the original ignition coils on this motor
have deteriorated and cracked insulation rendering them
useless. You should replace these even if they look OK
as the newer ones we sell are far superior to OEM.
The powerhead with the magneto removed.
Clean the breaker point cam and the crankshaft taper with
acetone or lacquer thinner to remove all traces of oil.
The crankcase head and the stator plate support should
be re-lubricated with molybdenum lubricant to help keep
the plate from rattling around as well as providing a
good ground. IF this area is full of grunge take it apart
and clean and regrease. Use locktite on the screws.
Showing installation
of the new coils. Lubricate the ends of the coil wires
with some silicone grease like that used on new high
energy ignitions,install the small rubber boots and "roll"
the coil onto the wire, making sure it slips in and makes
good contact with the pin in the coil. Align the coil
heels with the machined surfaces on the stator plate.
This is VERY IMPORTANT as error here could cause the flywheel
to strike the coil heels, ruining the entire magneto.
Be sure to install the cam wick under the coil on the
irregularly shaped boss. This lubes the breaker point
arms, without it they will rapidly wear away.
To set the points, move the cam until the
point arm follower is touching the cam at the "TOP"
embossed thereon. Set them at .020 with a feeler gauge cleaned
of all oil with denatured alcohol, acetone or lacquer thinner.
The feeler gauge should slip out from between the point faces
with a light resistance and the arm should not appear to move
when the gauge is removed. Care taken to set the points exactly
the same will result in a strong spark and a smooth running
engine.
GO TO PAGE
TWO
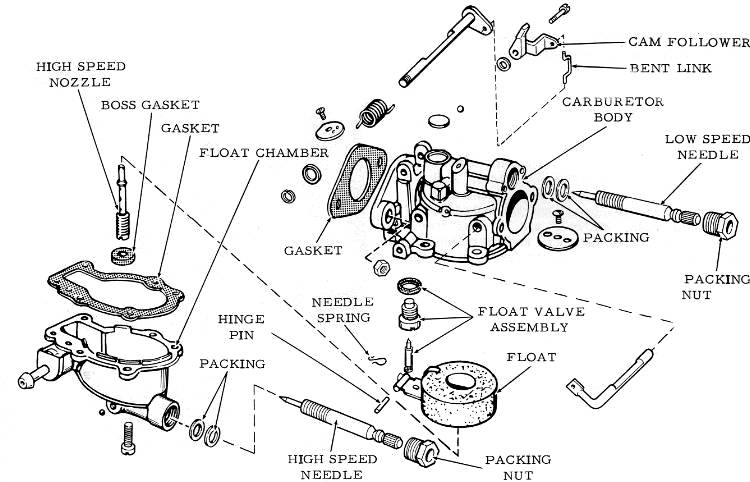
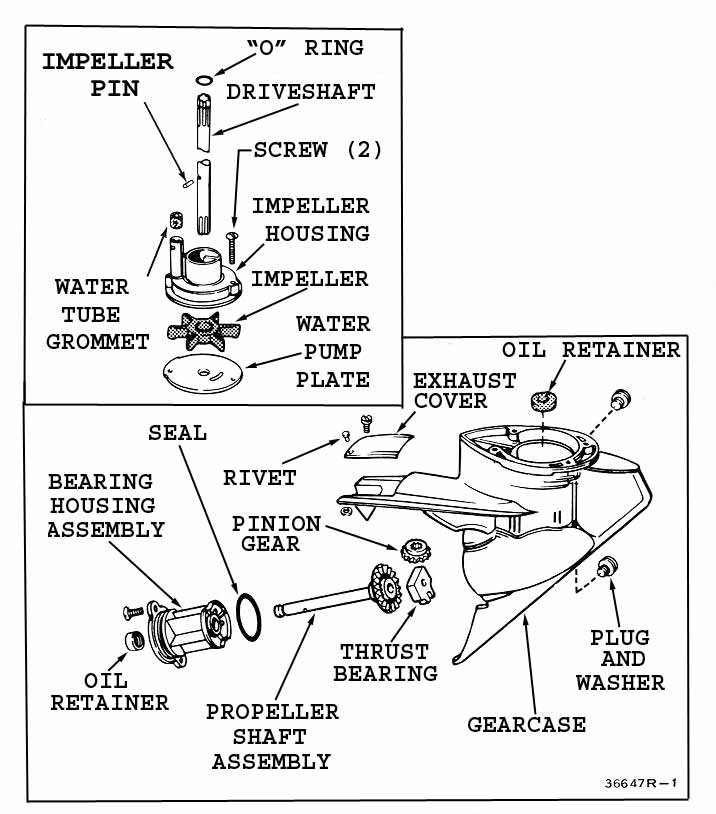
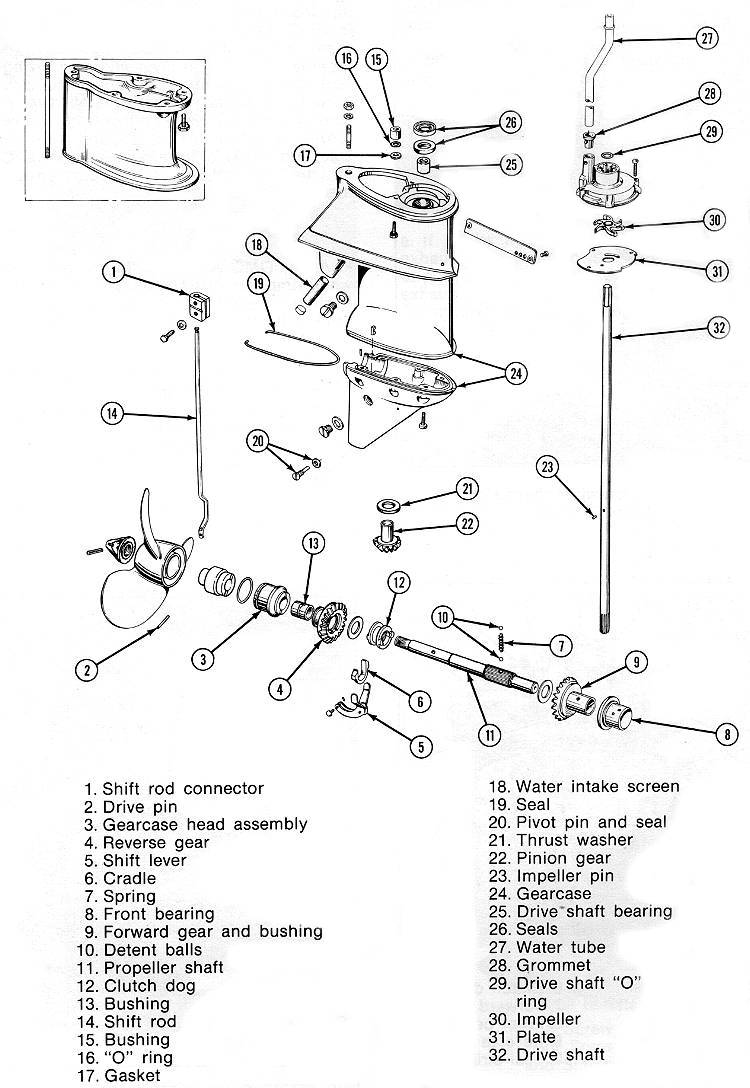
to continue with the carburetor
overhaul, head gasket and water pump impeller replacement.
I HIGHLY RECOMMEND you obtain an OEM
model-specific service manual to help you. We have most limked RIGHT
HERE at Mastertech.
We pay the freight out in USA on all orders
over $100.00. Orders less than this amount will have a shipping
and handling charge of $8.75 added. Some bulky and heavy items
will incur additional charges. You will be notified beforehand
if this is the case. All orders normally ship via USPS. Remember, all orders receive free technical
support from the MasterTech!
The information provided on these pages is correct to the best of my knowledge, however the MasterTech makes no warranty, express or implied, regarding the use of, results of, or liability created from, application of this data. This information is disseminated in good faith, however MasterTech assumes NO LIABILITY whatsoever in regard to this service. The information, software, products, and services published on this web site may include inaccuracies or typographical errors. Changes are periodically added to the information herein. Mastertech may make improvements to this site at any time. Parts ordered from this website may or may not be in dealer stock at the time of order. Thank you for reading.


