Wondering
"Where-'n-'Ell"
to get great parts for your outboard?
Right
Here!
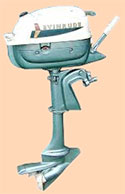
Evinrude 3 HP 1962
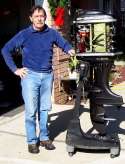
Meet the MasterTech! (click picture)
If your Mfgr. says:
That motor's 7 years old!! Part is no longer available. We lose $$ on service! EPA made me do it! Part's at central warehouse, you'll get it next month. We don't make parts for those. We only do warranty work. Our techs only fix late models. No clue what's wrong! So we'll work time & material.
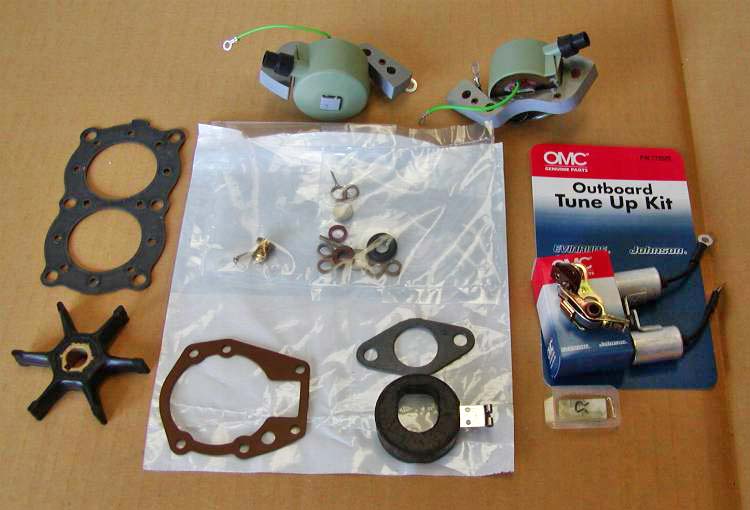
NEW PARTS TO INSTALL
(1) POINTS / CONDENSERS IGNITION TUNE
KIT
(2) IGNITION COILS & WIRES
(2) NGK B6S SPARK PLUGS
(1) 439071 CARB KIT
(1) HEAD GASKET
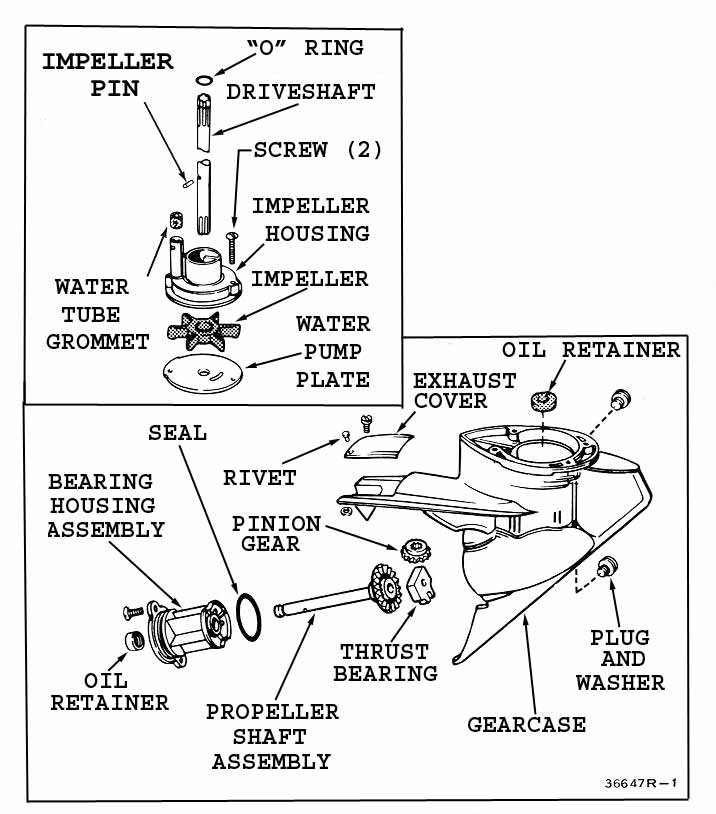
(1) WATER PUMP IMPELLER
You can order these as a kit
for $199.00
by clicking on the cart icon below.
MASTERTECH DEMONSTRATES HOW TO TUNE UP AN OLDER SMALL MOTOR.
On this second page we will go through rebuilding
the carburetor, replacing the head gasket and water pump impeller.
Complete procedure continuing a major
tune up on a small motor, in this case a 1962 Evinrude
3 HP. Just drop in here? GO
TO PAGE ONE showing the initial
setup and the magneto overhaul.
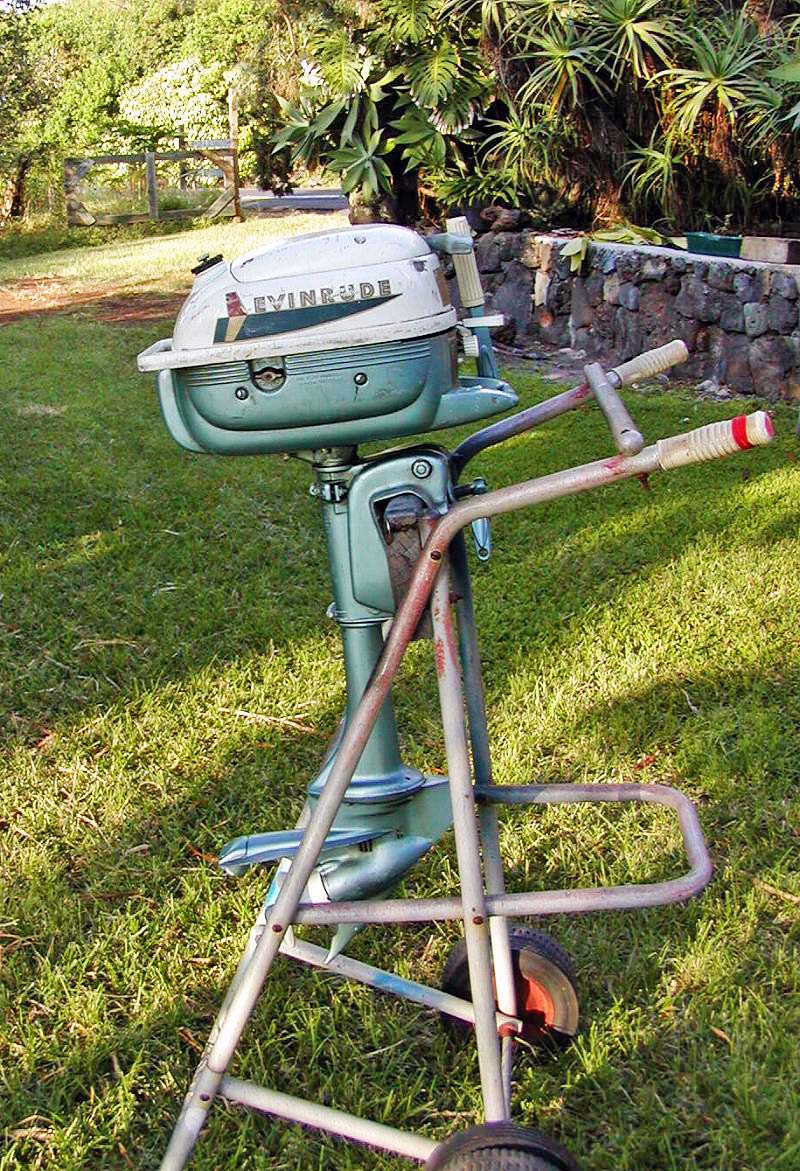
This particular
model was built essentially unchanged from 1951 through
1967 and as a 4 HP up into the 90's. You couldn't ask for
a better trolling motor. Where do YOU get one? E-bay and
other auction sites have motors up for sale all the time.
Yard sales, flea markets, even your local dealer may be
happy to sell you an older motor they don't think is worth
repairing. Use good judgment, don't buy a motor that is
worn out! Generally the nicer looking ones are in good
shape.
These are
the components we are using to get this little jewel into
perfect condition. All these parts will cost you just a
little over $172.00. The entire project should only take
you a Sunday afternoon, and will reward you with a motor
that runs better than new.
Most of
the small pictures are active links to full size photos
to help you along. Just click to look, they will open in
a new browser window. Feel free to print out any of this
info FOR YOUR OWN USE ONLY!!
I have found the use of OMC Engine Tuner
will clean the carburetor without exposing you to caustics,
has no unpleasant odor and it rinses away with water.
Similar products are available from other manufacturers.
Just put the carburetor in an old pan or suitable container
and immerse for a short time to remove all the deposits
and rinse with water, blow out with compressed air.
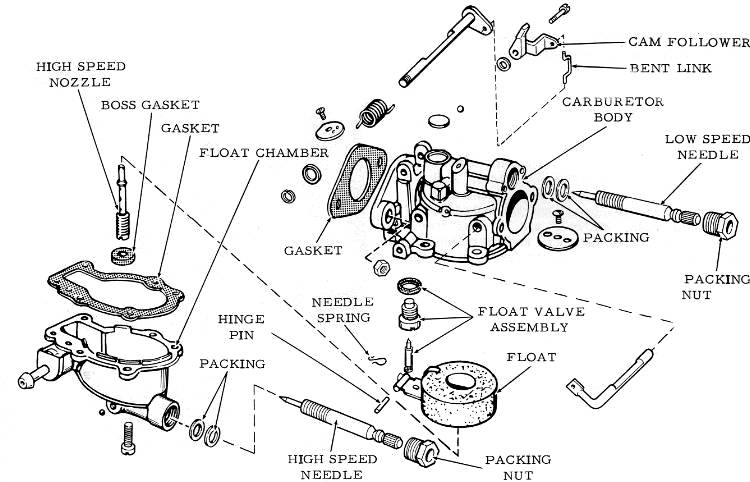
The carburetor should be upgraded with a
kit even if it is clean. Today's gasoline additives will
destroy the cork float, rubber float valve tip, bowl gasket
and center standpipe seal in a short time. If your motor
has rubber fuel lines and a fuel pump these should be
replaced with modern components as well. Disassemble as
far as practicable. If the center standpipe won't come
out that's cool. Just be sure to blow it clear.
The pen points to the low speed fuel calibration
pocket. This area is where the fuel and air mixture is
controlled by the needle valve. Small holes are drilled
into the carburetor venture under here. I recommend you
remove this soft plug by using a small punch or screwdriver
to puncture thru the soft aluminum and twist to remove.
Blow it out to remove any crud that may have accumulated.
A replacement plug is in the carb kit. Install it in the
cavity convex side up and tap it in the center to flatten
and seal securely in the hole.
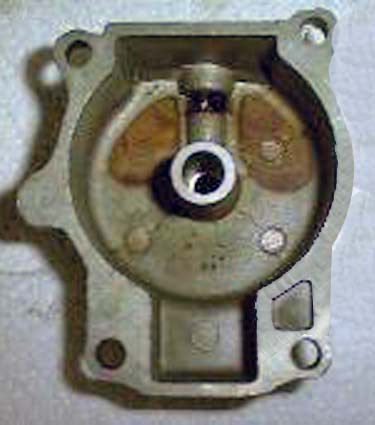
A proper float adjustment is critical to
good performance. You must bend the metal float tang (do
not press down on the float valve) until the float is
parallel with the body casting as shown here. All older
OMC carb float levels are set in similar fashion.
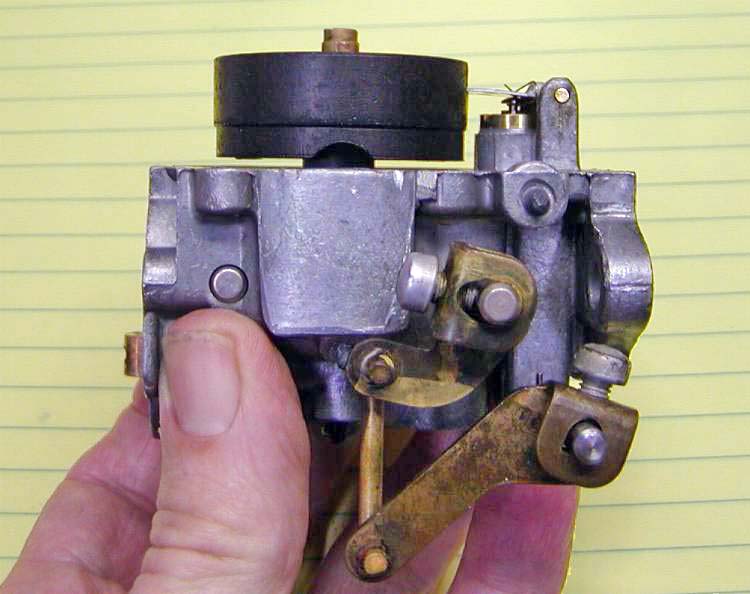
Here the carburetor is all ready to replace
on the motor. Be sure to install the seal on the center
standpipe in the middle of the carb body. Tighten the
bowl attach screws evenly and snug. The bowl gasket is
thick and if you get carried away you could break the
bowl. Basic adjustments for just about all older John-Rudes
is 1 1/2 turns off seat for the low and 3/4 for the high
speed needle valves.
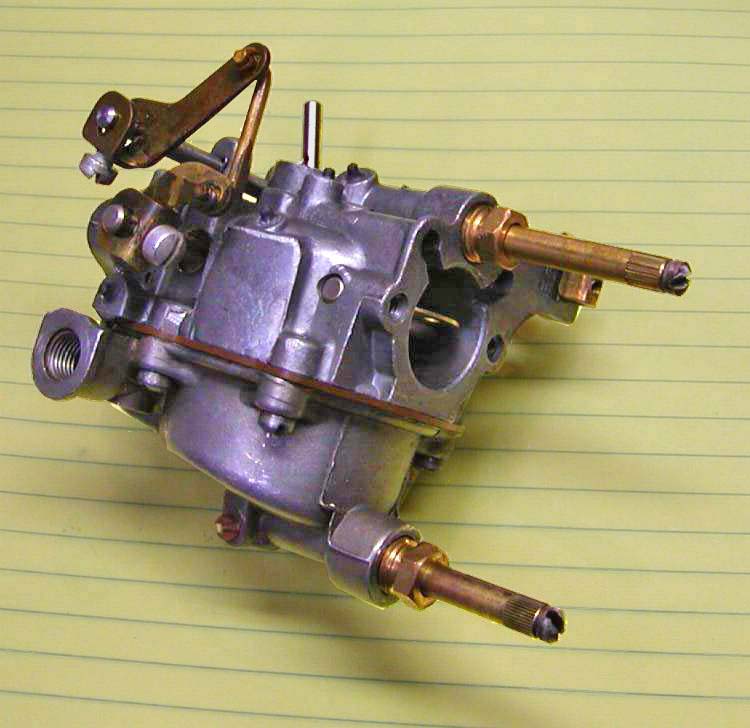
After a thorough cleaning of the entire
exterior to remove 40 years of accumulated dust and dirt,
the carburetor was reinstalled on the motor. The next
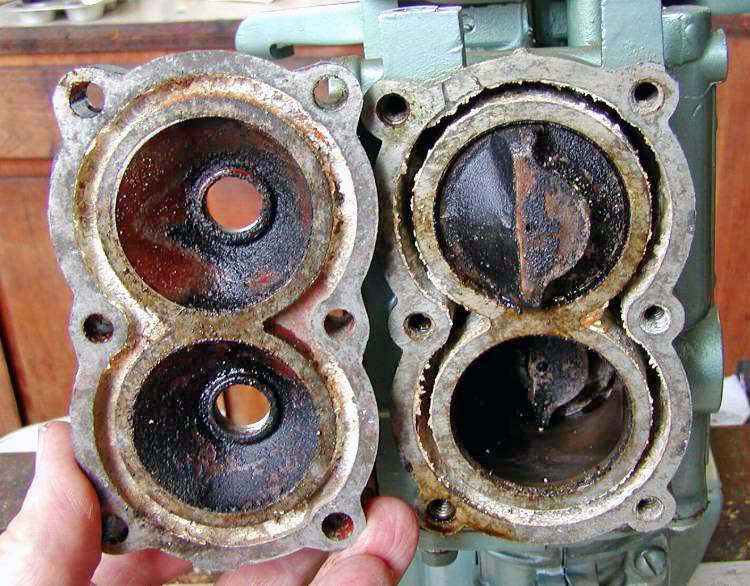
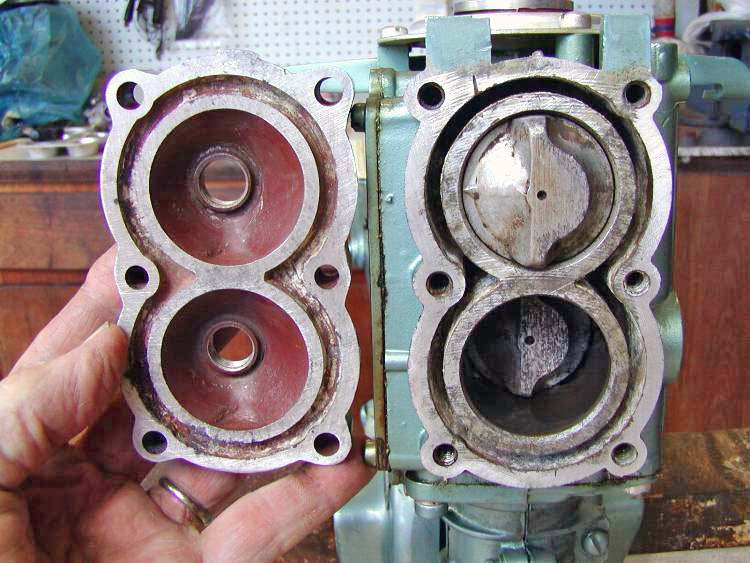
item on the agenda is the head gasket. All older motors
should have this replaced for a couple of reasons. First
is the materials that the older gaskets are made of is
inferior to the newer. Second, you need to examine the
cylinders and clean out the carbon accumulation from the
combustion chamber and exhaust ports. While the head is
off, clean out any scale and debris in the water jacket
as well as the carbon from the piston tops and the head.
Use a soft brass brush or a putty knife with the corner
rounded off. Avoid scratching the pistons.
The cylinder head on most of these little
engines gets warped and needs to be surfaced. In order
to get the head flat, take a sheet of 80 grit wet or dry
sandpaper and place it on a flat surface. A piece of plate
glass or a plastic cutting board are good choices. Using
a little water and a figure 8 pattern work the head on
the paper until it is showing clean metal all across the
face. Just so it touches, you don't have to grind out
every little flaw. Do the same to the block face with
a mill file to get any residual gasket material off and
a good mating surface.
BEFORE:
AFTER:
Reinstall the head to the motor. I use OMC
gasket sealing compound on all the bolts and around the
water jacket to help seal the cooling system. DO NOT put
it on the area where the gasket seals to the cylinders.
New head gaskets are treated with a thermal sealer and
need no additional compounds. DO NOT use spray gasket
sealers, Permatex, etc. on this surface. It is also important
to properly torque these bolts, starting from the center
out in a circular pattern. Do tighten the bolts in several
stages to the proper torque for the motor you are working
on.
GO TO PAGE
THREE
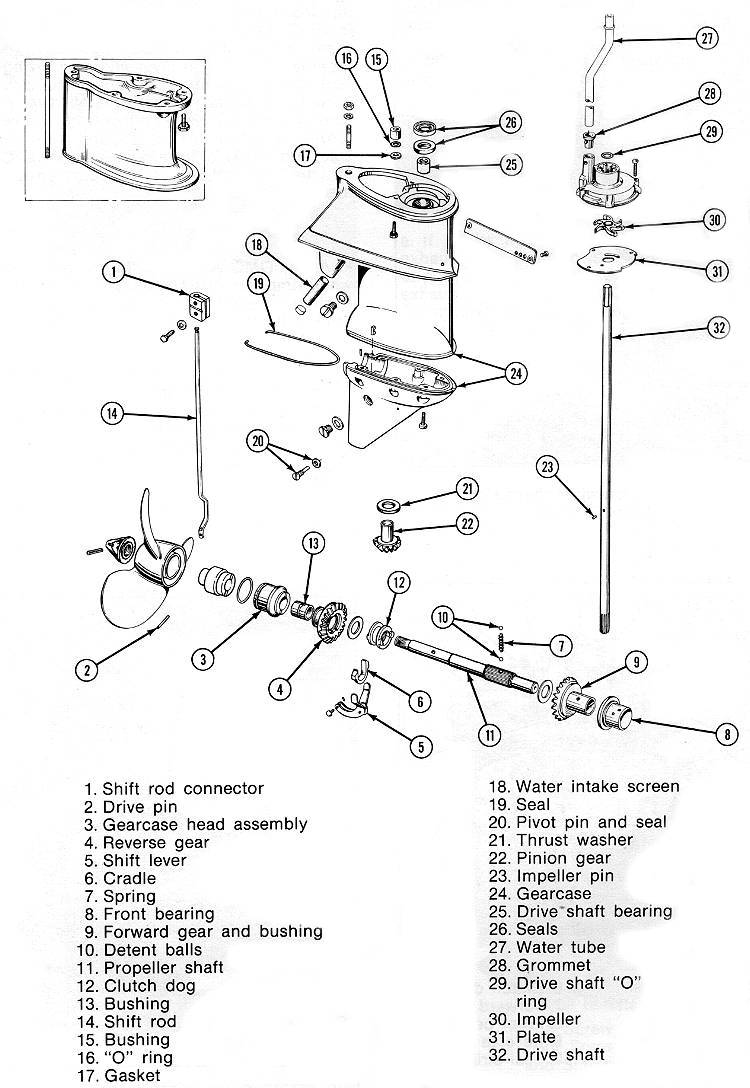
to continue with the water
pump impeller replacement and see the results of your labor.
I HIGHLY RECOMMEND you obtain an OEM
model-specific service manual to help you. We have most available RIGHT HERE at Mastertech.
We pay the freight out in USA on all orders
over $100.00. Orders less than this amount will have a shipping
and handling charge of $8.75 added. Some bulky and heavy items
will incur additional charges. You will be notified beforehand
if this is the case. All orders normally ship via USPS. Remember, all orders receive free technical
support from the MasterTech!
The information provided on these pages is correct to the best of my knowledge, however the MasterTech makes no warranty, express or implied, regarding the use of, results of, or liability created from, application of this data. This information is disseminated in good faith, however MasterTech assumes NO LIABILITY whatsoever in regard to this service. The information, software, products, and services published on this web site may include inaccuracies or typographical errors. Changes are periodically added to the information herein. Mastertech may make improvements to this site at any time. Parts ordered from this website may or may not be in dealer stock at the time of order. Thank you for reading.


